.png?length=1216&name=image%20(1).png)
MediaPipe is an open source, cross-platform, customizable ML solution for live and streaming media. It’s the ML engine inside a number of leading products from Google, including YouTube and Google Photos. It’s a great building block to create your own ML solutions and you can learm more about it and download the source code here.
In addition to being a great starting point for your own ML development, MediaPipe also contains a number of great examples which can showcase the capabilities of a number of platforms. In this blog, we will go through the steps to download and run a number of very cool ML examples and run them on the virtual Raspberry Pi 4b board available from Arm Virtual Hardware (AVH). You don’t need to know anything about coding or ML to run any of these examples.
Virtual Raspberry Pi 4 boards running on AVH can use your computer’s webcam and microphone just as you’d use sensors on a physical board. This compatibility allows computer vision developers to rapidly build and test MediaPipe Solutions AI/ML models without the need for a physical Raspberry Pi board.
Which MediaPipe Example Tasks are Supported?
Currently, six of the AI/ML examples are compatible with the Raspberry Pi:
- Face Landmark Detection
- Gesture Recognition
- Image Classification
- Audio Classification
- Text Classification
- Object Detection
You can learn more about these example tasks in the MediaPipe Solutions guide.
Configure Your Virtual Raspberry Pi
- Create a virtual Raspberry Pi 4-B board running Raspberry Pi OS Desktop. (Refer to our Quickstart for Raspberry Pi 4 guide for more details.)
- When the device boots, close the Welcome screen and SSH dialog.
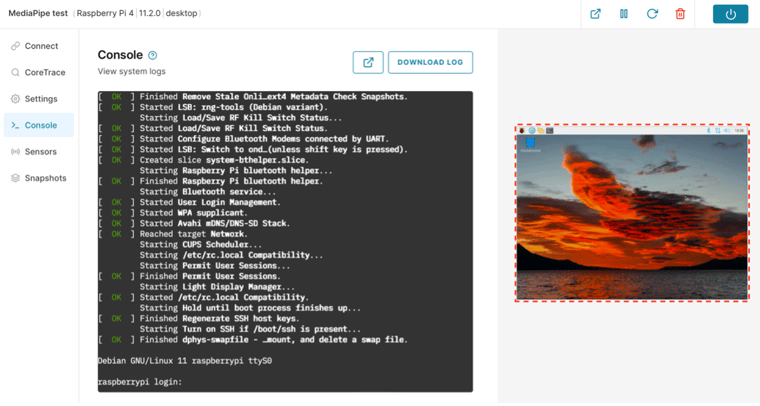
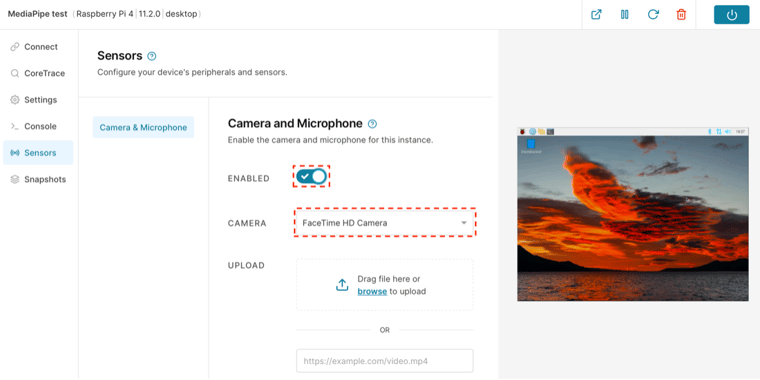
- Open the Sensors tab and enable the Camera and Microphone sensors. (You will need to enable permissions in your browser settings too.)
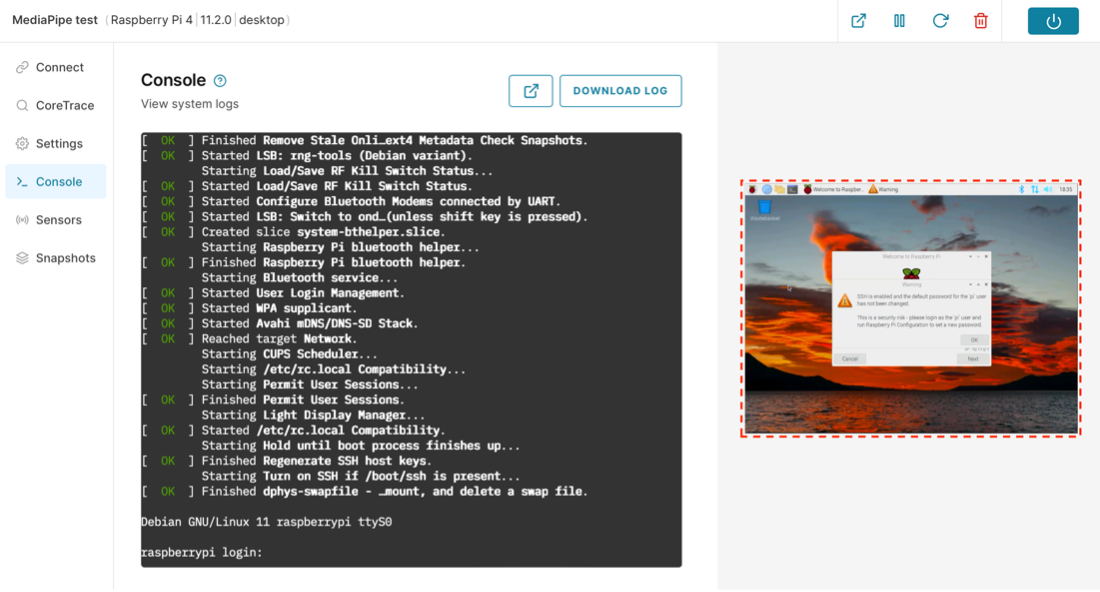
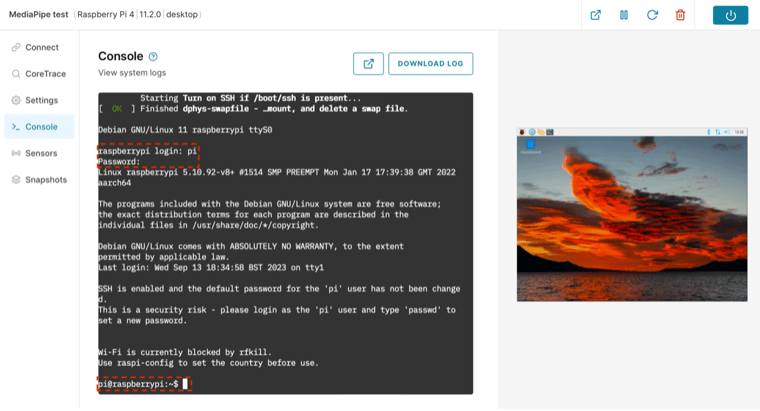
- Open the Console tab and log in with the default credentials (pi/raspberry). You should see a shell prompt.
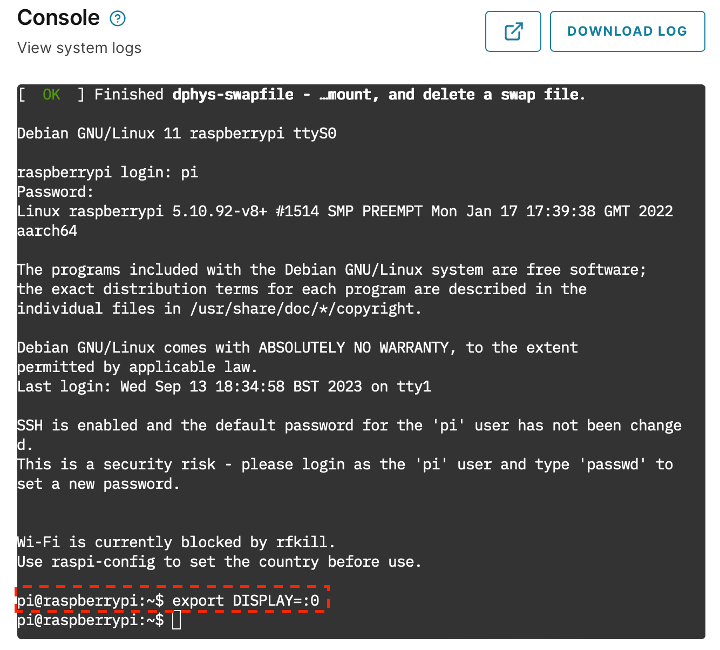
- Set your console to use the default local display. In the Console tab, run the following command:
export DISPLAY=:0
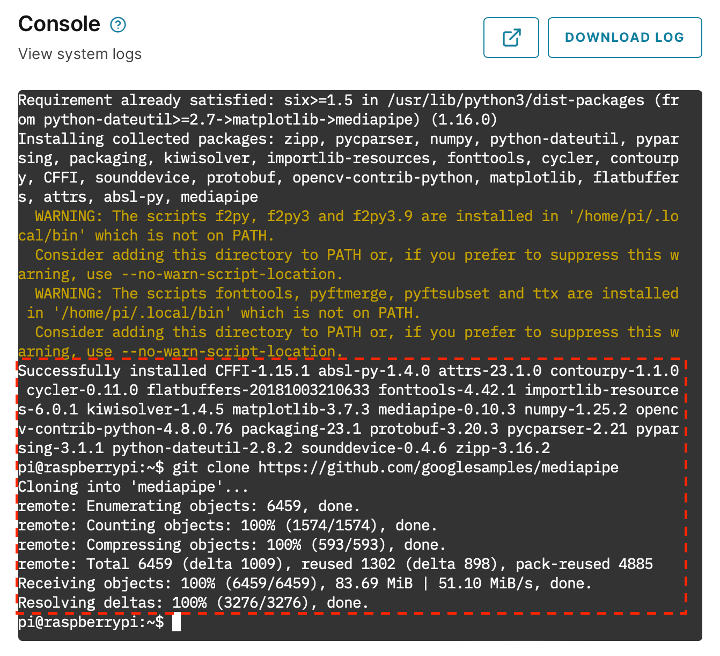
- Install the MediaPipe PIP package and clone the repository. In the Console tab, run the following commands:
python -m pip install mediapipe
Run the MediaPipe Computer Vision Example Tasks
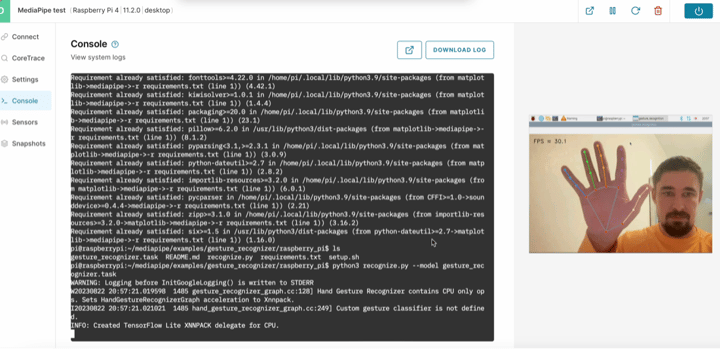
- Run the gesture recognition example task, which will track the position of your palm, fingers and knuckles. When you are finished, press Ctrl+C in the Console tab to exit.
cd mediapipe/examples/gesture_recognizer/raspberry_pi
sh setup.sh && python3 recognize.py --numHands=2
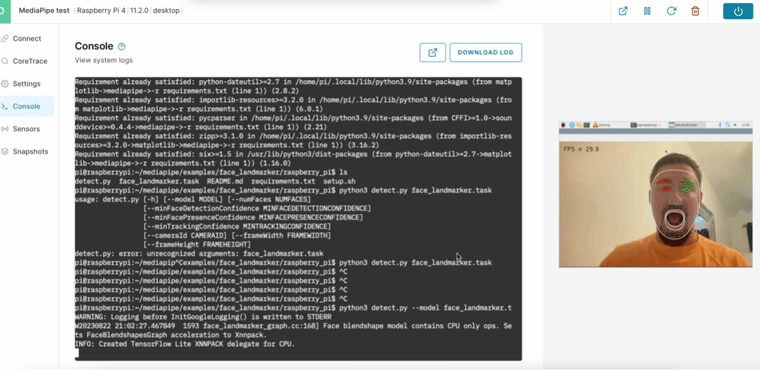
- Then try the gesture recognition example task, which will track the position of your palm, fingers and knuckles. When you are finished, press Ctrl+C in the Console tab to exit.
cd ../../gesture_recognizer/raspberry_pi
sh setup.sh && python3 detect.py
- Finally, run the image classification example task. When you are finished, press Ctrl+C in the Console tab to exit.
cd ../../gesture_recognizer/raspberry_pi
sh setup.sh && python3 classify.py - When you are finished, shut down your virtual Raspberry Pi board.
Leveraging MediaPipe Solutions on AVH allows you to rapidly train and test AI/ML models, including computer vision, on virtual Raspberry Pi boards using only a local workstation and integrated webcam.
AVH reduces the hardware constraints placed on AI/ML models and is an ideal tool for agile developers working on AI/ML based computer vision.
Revolutionize Your IoT Device DevOps with Corellium
Modernize the development of your IoT embedded software and companion mobile apps with virtual devices that tie into your SDLC process. Learn how Corellium’s high-precision virtual models enable faster development, enhanced security, and lower costs.
Book a meeting to learn how Corellium accelerates software development lifecycles with Arm-native virtual models and powerful tools and APIs.