As the demand for testing and managing iOS applications grows, developers are increasingly looking for efficient and scalable ways to work with remote iOS devices. In our previous blog post, we demonstrated how to use Python with an AWS Lambda in conjunction with Corellium to create a powerful, serverless solution for managing and testing iOS applications. In this blog post, we will explore a different approach, using TypeScript with Cloudflare Workers, to achieve similar results with the added benefits of Cloudflare's edge computing infrastructure.
Cloudflare Workers provide a serverless environment for running JavaScript code at the edge, close to the end users. This results in lower latency and improved performance compared to traditional centralized cloud services. By integrating Corellium with Cloudflare Workers, we can leverage the power of edge computing to streamline the process of deploying, testing, and managing iOS applications across a wide range of devices and configurations.
In the following sections, we will walk through the steps to set up a Cloudflare Worker, configure it to interact with the Corellium API, and demonstrate a simple integration to help get you started. This approach offers an alternative to the AWS Lambda method, giving developers more options and flexibility when choosing the right serverless platform for their specific needs. We'll cover the following topics:
- Introduction to Corellium and Cloudflare Workers
- Setting up Corellium virtual iOS devices
- Creating a Cloudflare Worker
- Integrating Corellium with Cloudflare Workers
- Security considerations and best practices
- Next steps
1. Introduction to Corellium and Cloudflare Workers
Corellium
Corellium is a platform that allows developers to create and manage virtual iOS devices for testing, debugging, and security research purposes. With Corellium, you can create an iOS device with a specific version, model, and configuration, which makes it an invaluable tool for developers working on iOS applications.
Cloudflare Workers
Cloudflare Workers are a serverless computing platform that enables developers to run their code directly at the edge of Cloudflare's global network. This allows for faster execution and reduced latency, as the code is running closer to the end-users and developers. Cloudflare Workers can be used for a wide variety of applications, such as custom logic implementation, API proxying, and task automation.
2. Setting up Corellium virtual iOS devices
To start using Corellium, you'll first need to create an account and set up a virtual iOS device. Follow these steps:
- Sign up for a Corellium account at https://corellium.com/.
- Log in to your Corellium account and navigate to the "Devices" tab.
- Click "Add Device" and select the iOS device model, iOS version, and any other necessary configurations for your virtual device.
- Click "Create" to instantiate the virtual device. It may take a few minutes for the device to become available.
- Once your virtual iOS device is ready, you can interact with it using the Corellium web interface or API.
3. Creating a Cloudflare Worker
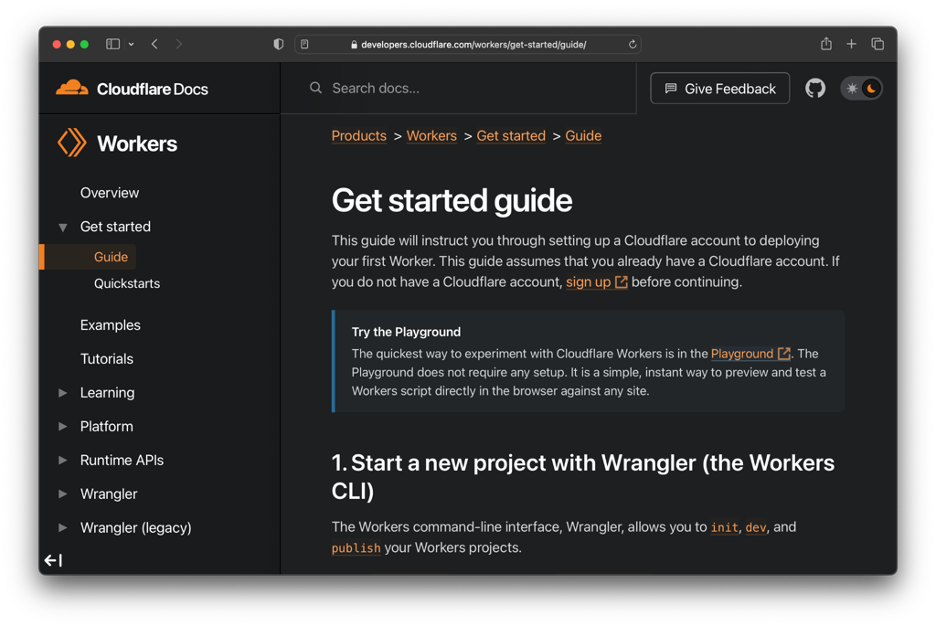
If this is your first time writing a Cloudflare Worker, you'll need to follow a basic installation guide to ensure you have all the needed dependencies and tools. https://developers.cloudflare.com/workers/get-started/guide/
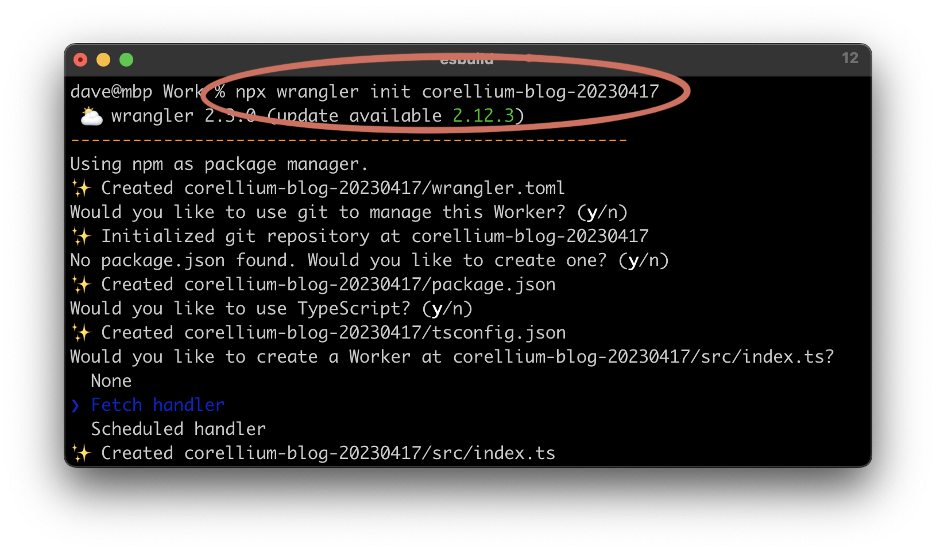
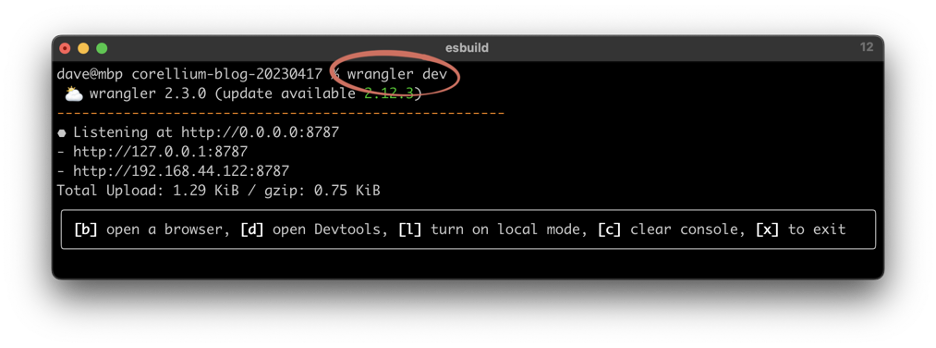
Once you've gotten the Workers CLI install, you can create a Cloudflare Worker by simply running:
To integrate Corellium with Cloudflare Workers, you'll need to interact with Corellium's API to manage your virtual iOS devices. (While Corellium has a helper npm package, it currently does not have TypeScript bindings as of the time of writing, though this will likely be changed in the upcoming weeks.)
Obtain an API token from your Corellium account. Navigate to your profile settings and click "API Tokens."
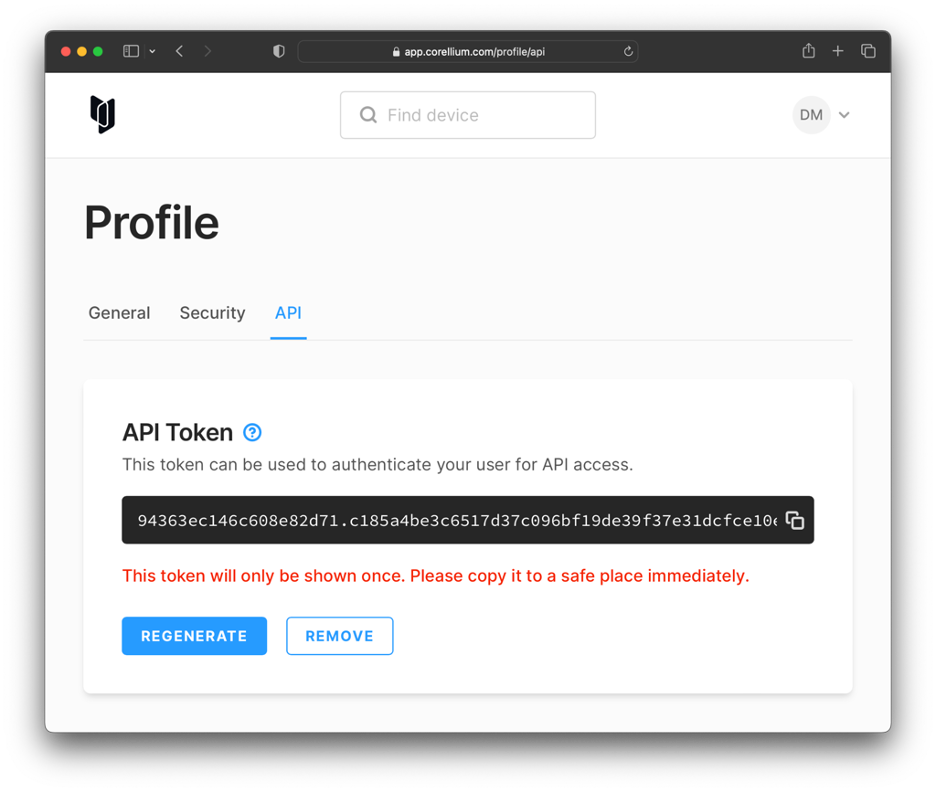
Create a new token and copy it. This token will be used to authenticate your requests to the Corellium API.
Next, grab the instance ID of the virtual device you created earlier. You can find it in the URL.

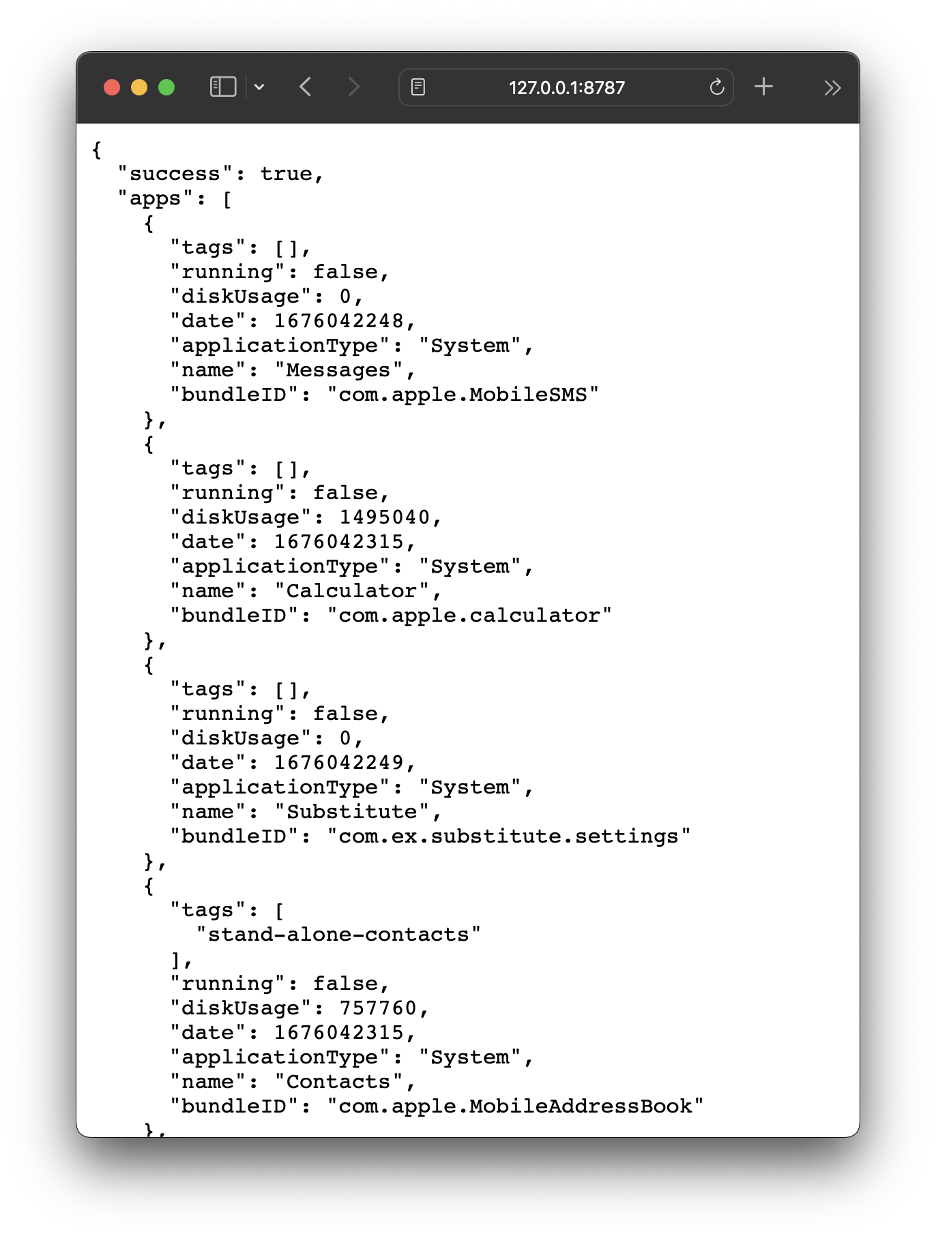
Now that we have everything needed to write our first "Hello Corellium" script! This is what we're going to put in for our `src/index.ts` file.
To test this out locally, run:
If all went well, visiting `http://127.0.0.1:8787/` should result in a page that looks like this.
 5. Security considerations and best practices
In our example above, we've hardcoded our API token. This is not ideal, as we should not be committing secrets into our source code directly. Instead, we can use Cloudflare Worker secrets.
First, modify the beginning of the script we made in the previous step to define `CORELLIUM_API_KEY`, and reference that instead of the hardcoded API key.
In production, you can upload your API key to Cloudflare with:
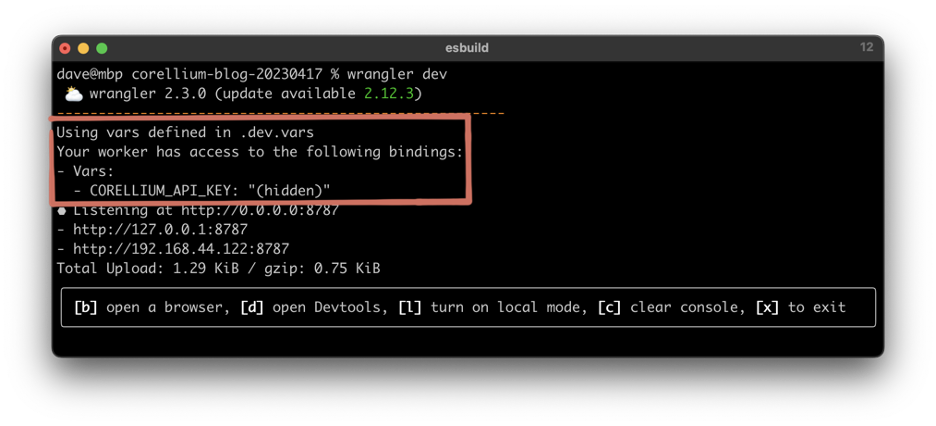
However, for local testing, we can alternatively create a `.dev.vars` file. (Note: you should add this file to your .gitignore to avoid shooting yourself in the foot.)
Now, let's run `wrangler dev` again. You will see a message that shows the new variable is correctly being used, and its value is hidden from console debug statements!
 6. Next steps
In our next blog post, we'll cover how to leverage Cloudflare Workers to forward SMS messages from a real number to a virtual Corellium device! Stay tuned.
If you’d rather go ahead and start playing with iOS virtual device management via Corellium, sign up for a free trial.